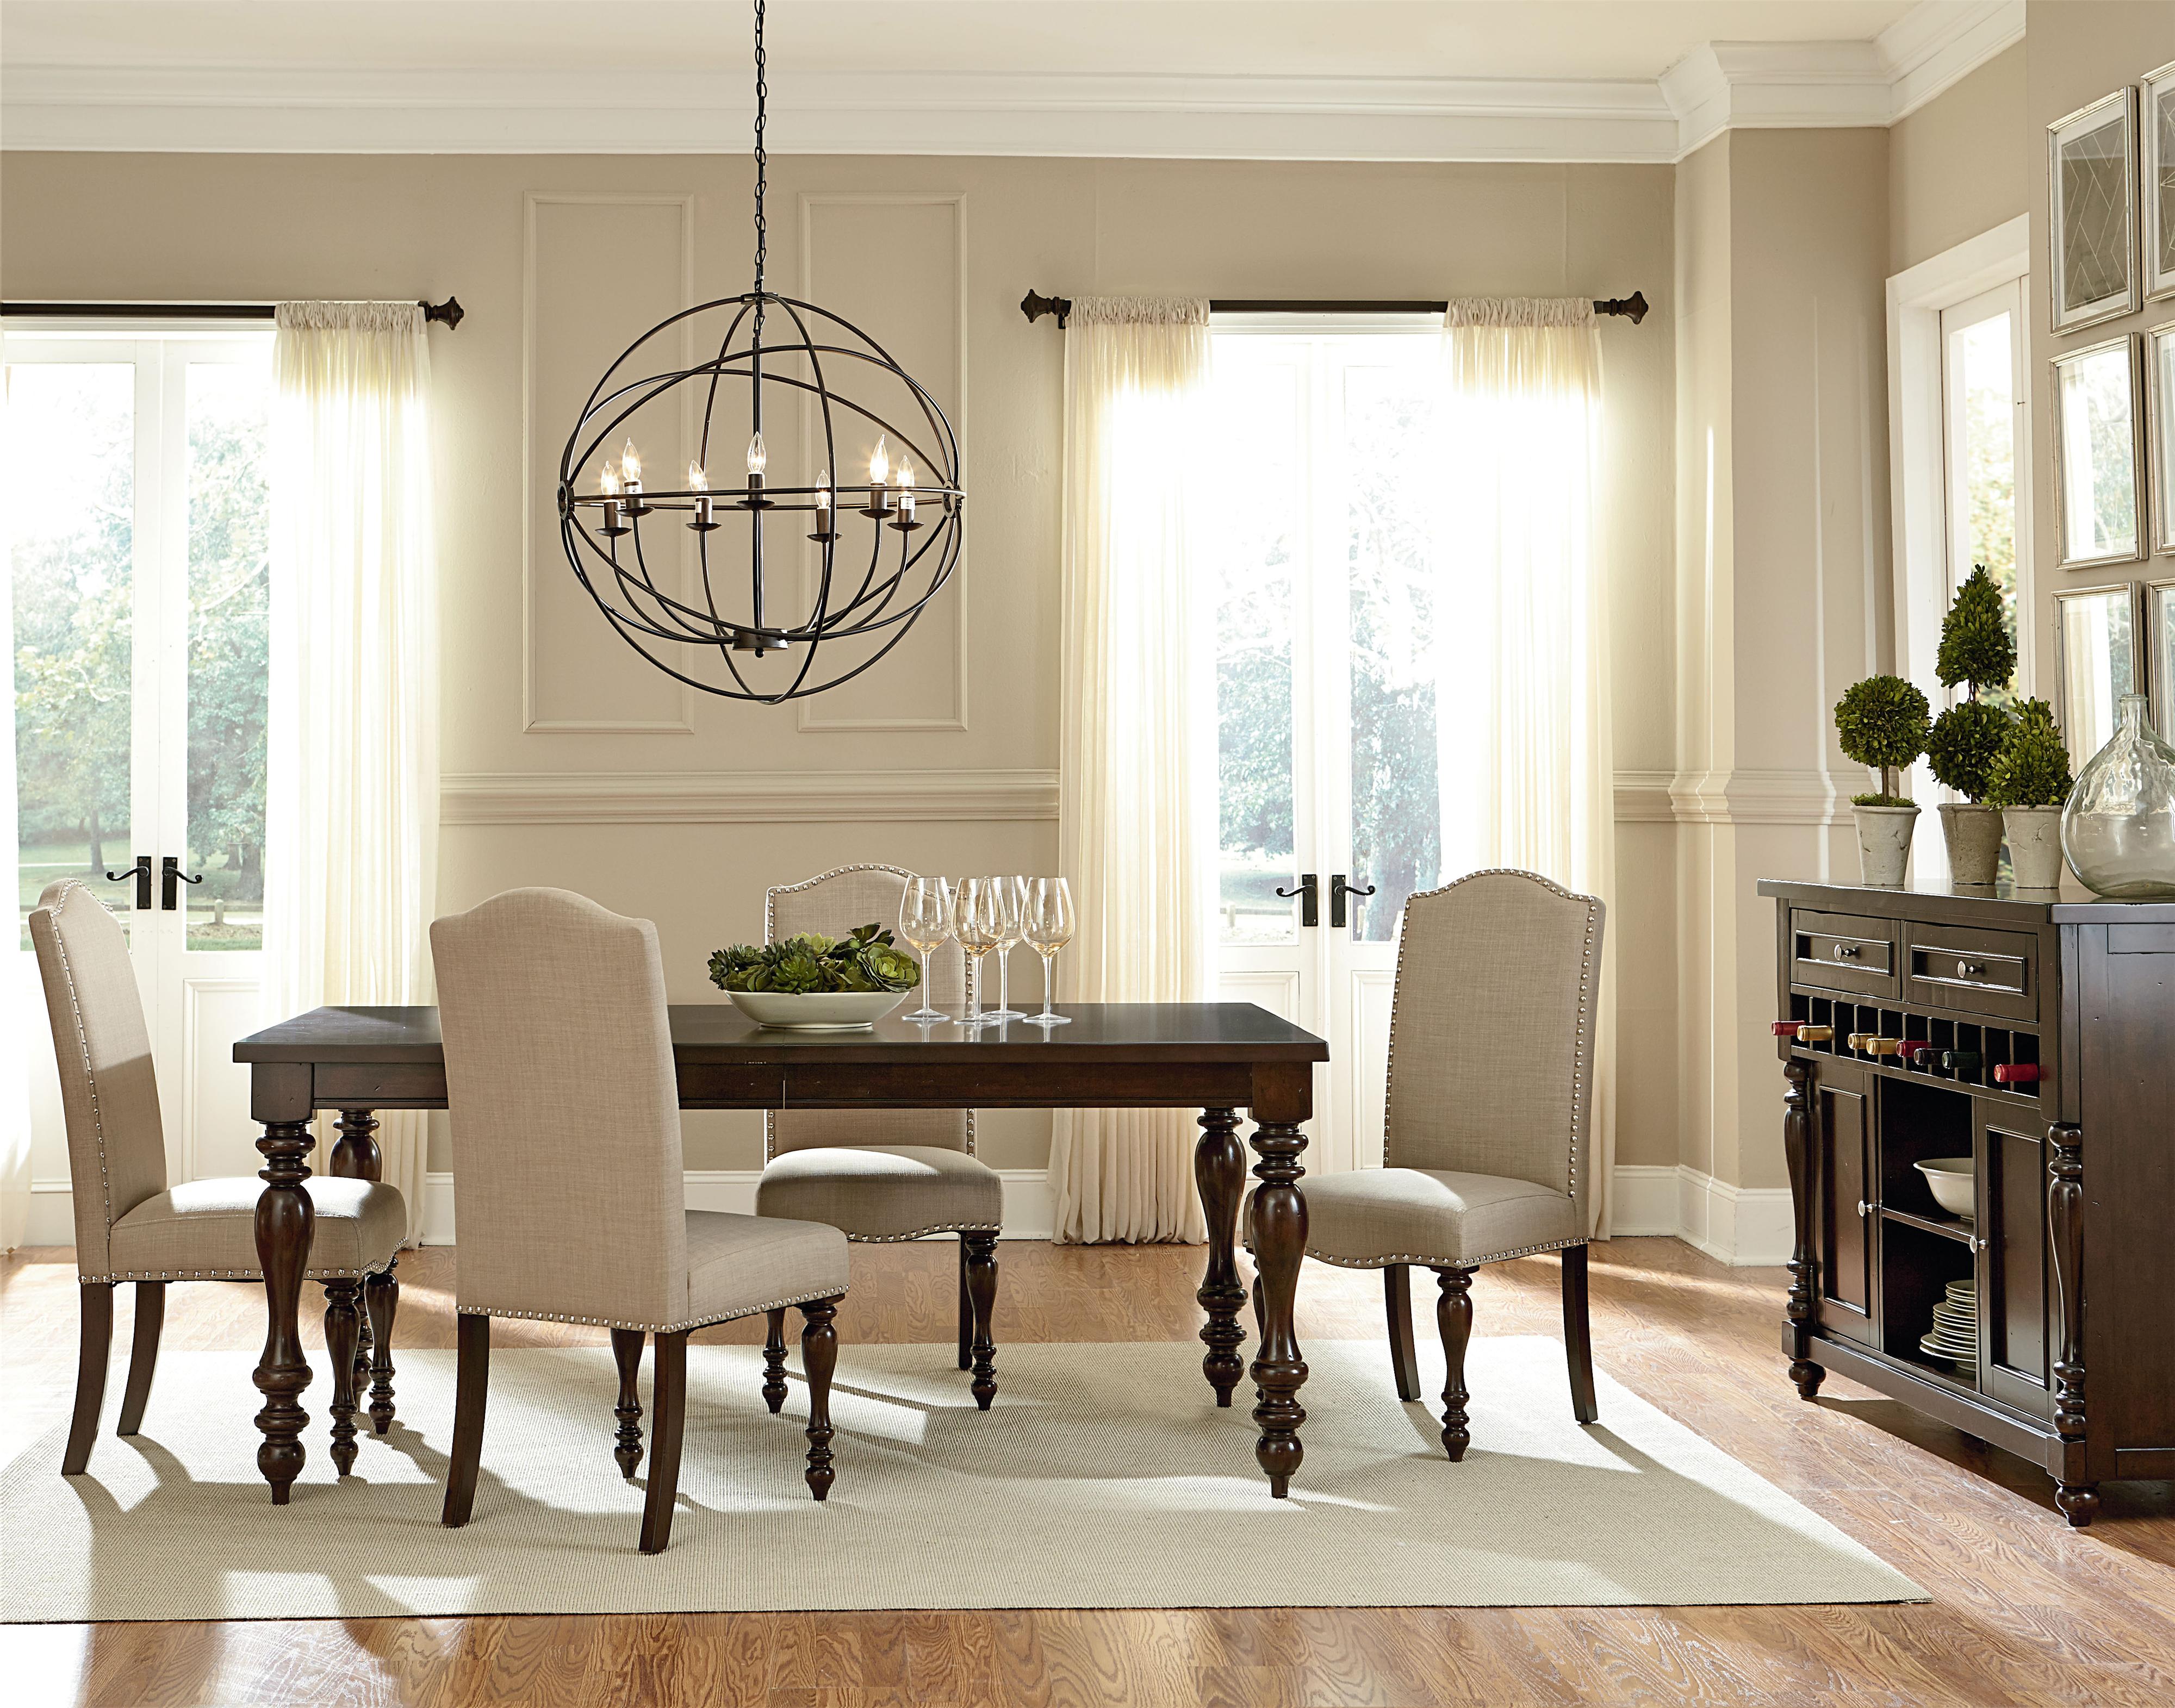
About : standard furniture kitchen tables
Title : standard furniture kitchen tables
standard furniture kitchen tables
this video is brought to you by sailrite.in this video we will transform this old chair with beautiful new fabric purchased from sailritegiving us a very stylish set of chairs for the front lobby here at sailrite. our chairincludes a channeled back rest, so we will create pleats in the fabric and push themin-between slits in the foam. this how to video is designed for beginners who may havenever upholstered before. after watching this step by step video youll be able reupholsteryour own chair bringing stylish beauty to your home of office. let's get started.the first step in recovering a chair is to remove the old fabric and disassemble partsof the chair that will need to be recovered with the new fabric. if you are new to re-upholsteryprojects you will quickly realize that the
job of removing the staples from the old fabricis more than likely the most tedious and time consuming task. be patient and don't giveup, in the end when the first panel of new fabric is finally stapled in place you willsee meaning and purpose as your project springs back to life.we are using a tack and staple remover here which is a helpful tool for the removal ofthe old staples. thru ought this video you will see multiple tools used to pull the staples.if you don't have a tool like this you can just simply use a screw driver and pliers.take note of how the old cover was installed, you may even want to take a few photos thruout the process so you can quickly reference how it was done. once the chair is disassembledyou need to remember how it should go back
together and if you're like me, life has plentyof interruptions that may pull you away from completing this task the same day, and thosephotos may be required to jar your memory. if possible try to keep the old fabric panelsintact, as you will likely use them to pattern the new fabric. all chairs are different andwill likely use multiple techniques to cover the foam with fabric. we tried to pick a chairthat was rather complex so we could hopefully cover many of the processes. we don't expectyou to recover the exact type of chair here, but after watching how we do this we hopeit will build your confidence in tackling a project of your own. you will likely stumbleacross old furniture that others have discarded throughout your life. many times all thatfurniture needs is new updated fabric to bring
it back to life. in fact some of the oldestfurniture is often the most study and built from hard woods, that typically is not donein today's newer furniture. ok enough chit chat about the merits of learninghow to re-upholster. our chair's old fabric is almost completely removed from the frame.here you can see we are removing the fabric covering the back of the chair. the orderit was disassembled will typically be the order it is reassembled, except in reverseorder. our chair has a seat bottom that has fabric stapled to a backer board. we needto remove that fabric as well. here you can see all the old fabric panels and the foamthat was used in our chair. we will use the old fabric to pattern the new fabric. whenthe staples were removed we scratched the
frame slightly so we will lightly sand itand then reapply a wood finish to the frame. this chair had piping that was used to hidethe front fabric panel's edge and it had piping along the front edge of the seat bottom. youcan measure the old piping or you can take a measurement from the frame to determinehow much piping is required. the channel you see in the wood is where the piping flangewill be stapled and that is where angela is measuring.we have opted to use a sunbrella furniture or upholstery fabric for our chair. we willcut a strip of fabric which is equal to the length of piping required plus an extra footor so. we will be cut the width of this strip to about 2 inches. it will be cut down tosize after the piping is sewn in. we will
be using a cotton braided piping for our pipingcord. this cord will be folded into the strip of fabric and we will use a cording foot onthe sewing machine to sew a straight stitch along the edge. we are using the sailriteultrafeed ls-1 sewing machine which has a cording tunnel built into the standard foot.this is a true walking foot sewing machine. we are using a #16 size needle with monofilamentthread #52 which is a nylon thread. you could also use a v-69 thread with a #16 size needleas well. notice that when angela stops sewing she buries her needle to the thickest partof the shaft and adjusts her fabric, then continues to sew. burying the needle helpskeep the assembly at the correct spot so you can make adjustments without your assemblyaccidently moving. we also need a piping for
the seat assembly. we used a different colorfabric for that area and here you see it already sewn with the piping in place.let's start with the back side fabric covering. we will grab the old fabric and use it forthe pattern. instead of making the back of our chair one color as the old one was weare going to use a pattern sunbrella furniture or upholstery fabric for the sides and a solidcolor for the back. so we will make three separate panels instead of one.for our upholstery job were using sunbrella upholstery or furniture fabric which not yourordinary upholstery fabric. sunbrella is a premium fabric that is highly resistant tofading even when left in direct sunlight for years. typical upholstery fabric is not nearlyas uv resistant, so it often fades when left
in the sun for even short periods of time.not only is sunbrella fabric fade resistant, but it's also stain resistant. in fact itis so tough that it can be cleaned with a bleach solution mixed with soap and water.sunbrella fabric, ya it's that good, and it's available at sailrite in hundreds of colorsand styles. here you can see where the back middle panelwas stapled down to the frame. we want each of these three panels to be larger than thepattern by at least 6 inches on all sides. this extra size will allow enough fabric toeasily staple the new panel in place while creating the shape we need to draw it up tightto the frame. all three panels are now cut to size and as you can see they are oversized.a side note -- no reason to use a hotknife
to cut the fabric since these panels are oversizethey will be cut down once stapled to the chair and all edges will be hidden so unravelingfor these edges is not typically an issue. we are stapling the fabric to the frame securingit at a few locations so it is positioned correctly and will be taut. this is a rathersimple task, just staple around the frames edge securing the fabric so it will lay beautifully.when stapling be sure to avoid stapling in the frame where it will be exposed, we don'twant to put holes in the oak frame where it is intended to show. we will speed up thefilm here to show this in double time. notice that angela is feeling for the channel inthe wood frame, so she will place the staple very close to the channel, but not over itonto the side of the frame that will show.
as she staples the bottom edge she pulls slightlyon the fabric to draw it up tight as she staples. we have placed staples about every 3 inchesapart to position and draw the fabric up tight. when we have finished going all around wewill inspect the results and if happy place a staple about a half inch away from eachother or closer. then simply cut away the excess fabric using scissors. one side isdone, now we need to repeat that process for the back side and the opposite side of thechair. the backside will be a yellow fabric. we will position the fabric so it is centeredand so we have extra fabric on all sides. then start stapling it to the frame in thesame manner. be sure to staple under the channel in the wood frame that will be used to secureour piping in a later step. this too will
be shown in double time.the backside in yellow sunbrella furniture or upholstery fabric is now secured and weare ready to cut away the excess fabric. we will not show securing the opposite side.here it is completed. next were going to concentrate on the backseat panel that covers the foam. our chair incorporates pleats which gives it a stylishlook. those channels or plate panels are about 6 â½ inches wide and our chair has 9 of them.since this panel has pleats sewn in we can't just cut a new panel using the old as a templateacross the width because we need to account for the width of the sewn in pleats. measureone of the pleats and multiply it by the number of pleats and then add that amount to thelength of the old panel plus the extra 6 inches
or more all the way around the sides. nowyou know the approximate size of the new panel length. you can see also that our old coverhas dog ears at the corner, we need to also incorporate those in the measurement. thewidth of our panel is 20 â½ inches we to add our customary 6 plus inches on both sideshere also. here we have cut the fabric to size and arenow ready to mark the edge where each pleat will be sewn in.let's measure from the underside of the old cover from stitch line to stitch line forthe plate. we get 6 â½ inches. now find the center of the new fabric panel we just cutand measure over 6 â½ inches then measure over 1 inch from that mark (this is the sewnin pleated part for our cushion).
from each 1 inch line we will measure over6 â½ inches for our cushion, repeating it until all the pleats are marked along theentire length of that edge. once that is done we can now take the panelto the sewing machine and match up the marks that are one inch away from each other sothey are directly on top of each other. be sure the opposite side of the panel is layingsquare. then we will sew down the height of the panel directly on top of those lines witha straight stitch. this places the stitch a â½ inch away from the folded edge.repeat this process until all pleats are sewn. here it is finished and as you can see wehave plenty of extra fabric and the pleats fall at the same location as the old panel.we will take the foam that we removed from
the back seat rest and staple it in placein a few areas. we're going to use a 3/8 inch staple here as we need a little more depth,we had been using a â¼ staple to secure the fabric in the previous steps. since the foamis rather old, we will use some polyester batting or fiber fiil to build up areas whichmay sink when the cover is secured over the foam.take the back seat fabric and fold it in half to find the center, then position it at thecorrect location on the chair. we still have the longer 3/8 staples in the gun. we willplace a tacking staple in the center location (this is a staple that can be removed if needed).it will hold the fabric in place as we tuck the pleats into the slots between the foamsections.
we find it easier to tuck each pleat intothe crevasse of the foam then after confirming that all is fitting, stapling it in place.now go back to the center location and start with a pleat near it. staple the top portionof the pleat, as shown in the video. once that staple is placed under the fabric now concentrate your effort intoplacing a staple on the outside surface of the fabric so the staple goes into the channelof the wood, where the piping will be inserted later on. notice that once the staple is placedover the stitch line the fabric sank into the channel with it, that's what we are tryingto achieve. do this for each plate along the top of the chair.once that is done, we will concentrate on the bottom edge of the fabric panel. herewe will simply fold the fabric so it lays
nicely and the pleat looks good, then we willpalace a staple over the stitch line. do this all along the bottom edge. the area we arestapling here will be hidden by the seat bottom. place more staples along the channeling sectionto hold it securly along this bottom edge, be sure to tension the fabric slightly fora good look, do not pull too hard or hard spots may appear. we are still working withthe bottom edge, we will soon finish up the top edge in a later step.here we are working along the sides of the back rest. placing staples in the channelof the wood where the piping will be inserted, this is the very edges of the chair. afterthat is done we can concentrate on the top edge of the chair again placing staples inthe channel of the wood frame.
at this location the seat bottom will hidethis corner, so do not be alarmed about the small wrinkles here. next cut away the excessfabric with scissors. don't worry about the rag tag edges of thefabric you just cut away, we will be hiding it with the piping we sewed earlier.when we sewed our piping cover over the cording we made it extra wide, which in my opinionmakes piping easy to sew, but does waist fabric. we have to cut the extra flange off the pipingbefore we can use it. angela has opted to use a hotknife to cut this away. the sizeof the flange should be about 3/8 inch. using a hotknife will prevent the edges from unravelingwhen it comes to pushing the flange into the channel of the wood frame. if you do not havea hotknife like this you could use a wood
burning tool or use scissors, the unravelededge may be a pain, but it is also something that can be solved with a little extra tuckingor cutting. there are multiple tools that can be usedto tuck the flange of the piping into the channel a tucking tool is available from sailrite,here angela is using a tucking tool that comes with an upholstery kit, you can also use aputty knife. once the piping is tucked you may begin tostaple it in place. here we are inserting the tip of the staple gun under the pipingto insert the staple in the piping's flange and into the channel.all that is left now is to complete the seat's bottom that is coming up next.our seat bottom is stapled onto a backer board
so we can roughly cut the new fabric to sizeusing the old fabric as a pattern. however the front of our seat bottom features a boxingor facing edge so we will have to be diligent in patterning it so it will fit the foam correctly.here we are measuring the seats front edge which curves around the sides of the chair.we transfer that measurement to the fabric, we will fold the fabric in half to find thecenter, that way we can place that measurement directly in the center.angela is going to simply cut a slit to indicate where it is. then she will measure the heightof the "l" shaped corner, so it can be cut out from the corner of our new fabric pattern.it is best to measure not from the top side, but from the underside as it incorporatesthe seam allowance which is required to sew
the boxing on. so from the underside we get3 inches this is the measurement we want, taken from the bottom side. at those two cornerswere the slit was made she will cut up 3 inches and then cut the corner away.next we will grab the piping that we made earlier for the seat bottom and cut the flangewhich we made extra-large to about 3/8 inch. we will then sew it to the front portion ofour seat bottom plate starting at the center, so it is centered. we are using a cordingfoot on this sailrite ultrafeed ls-1 sewing machine which is built into the standard foot.if you're using another sewing machine you may need to install a cording foot. be surethe piping's flange edge is lined up with the edge of the plate's fabric edge and carefullyguide it as you sew it on.
when we reach a shape corner we will burythe needle to the thickest part of the shaft approximately 3/8 inch away from the cornersedge. then lift our presser foot, turn the fabric pivoting on the needle, lower the presserfoot and continue to sew. here we are reaching an inside corner, we will follow the sameprocedure yet again. at the end do some reversing to the lock the stitch in place. since westarted from the center we will need to again start from the center to finish the otherside, but this time we will flip the fabric with the piping on the underside. if you startedon one end you would not need to do this. the process is the same except that the pipingis on the underside making it slightly more difficult.all right the plate is done. next up we will
work create the boxing which also has pipingon it's bottom edge. to make the boxing measure the boxing's width,you will want to create the exact width of the old boxing. be sure to take the measurementfrom the underside so it includes seams. cut a strip of boxing from the new fabric. inspectthe old cover to see how the piping was installed and where it stopped. we will sew the pipingon the boxing strip first then trim the length to size to match the old seat bottom's boxing.now we can take the boxing to the old cover and cut it to the exact length and includeany special shapes that may have been incorporated in the old cover. here you can see a cornerthat needs to be cut away. angela will start to sew this boxing on starting at the center,so she folds it in half to find the center.
then she will fold the plate in half and findthe center of it. lay the boxing over the plate so outside surfaces are facing eachother and sew it onto the plate. since we are sewing this boxing onto a platethat has a piping installed we again are using the cording tunnel to accomidate the pipingcord. notice how she handles the turns at the corners. here we have a lot of bulk fabricand it is easier for her to walk around the corner by hand, so she grabs the balance wheelon the sewing machine and rotates it by hand so she has full control and she can bury theneedle lift the foot and make sharp turns as required to keep the stitch at the correctlocation, next to the piping cord. since she started from the center locationshe flipped the fabric and will not complete
the other side. here it is complete.now all we need to do is fit the foam to the cover and staple it onto the backer board.to do this we like to start on the front edge and staple it down first. the front edge ofour seat bottom has piping running along the edge, so for us we want this piping to theflush with the backer board's bottom edge. that is why we will staple it down first.then we will pull the fabric tight over the foam from the back side and place a few staplesnear the center (we may have to remove these staples). we will install the rest of thestaples along the front edge after we are stratified with the way it is laying alongthe edge of the backer board. with that edge secured down and a few staples in back wecan inspect the look of the front edge from
the topside. if we feel the foam does notfit correctly we can use polyester batting material to stuff the corners or build upthe foam (since it is old). so, here we do not like the way it look so were going toremove the two staples on the back side and put some fiber fill in the corners to fillthose voids. since we are using the old foam again, wehave to fill any flat spots that may have occurred as the foam compressed over the yearsof use. this will help maintain the shape of the old foam.as you can see that fiber fill helped to fill the corners where the foam was compressedand rather flat. now that we are happy with the way it lookswe can continue to pull the fabric over the
backer board and staple it down. do not pullso tightly that you create tight sports at each staple, just pull tight enough to tensionthe fabric over the foam looks good. we will show this in double time.once stapled down trim away any excess fabric. now the finished seat bottom is ready to beinstalled in our upholstered seat chair. now just reverse the disassembly of the seatbottom and reassemble it back onto the frame. this too will be shown in double time. ourreupholster job is now complete, except we have yet to staple a cushion underling tothe bottom side of the seat bottom. that's coming up next.sailrite carriers a cushion underling material that makes a good cushion or upholstery underlingfabric, we will use that to close off the
bottom side of the chair. simply staple itaround the perimeter and then cut off the excess with scissors.coming up next we'll take a close look at the materials we used and the tools that maybe required for your next re-upholstery job. we used a sunbrella furniture / upholsteryfabric, but you will find hundreds of other fabric brands that will work great for indoorupholstery projects at www.sailrite.com. the duo-fast staple gun was used in this video,but another less expensive staple gun is the eze tc-08 it too is available at sailrite.if you have questions be sure to give us a call. for more free videos like this be sureto check out the sailrite website or subscribe to the sailrite youtube channel today. it'syour loyal patronage to sailrite that makes
these free videos available, thanks for yourloyal support! i'm eric grant and from all of us here at sailrite, thanks for watching!